Node Configuration
The node inspector explained tab by tab — Configuration, Output, and Error Handling — plus the special Input/Output node panels and retry semantics.
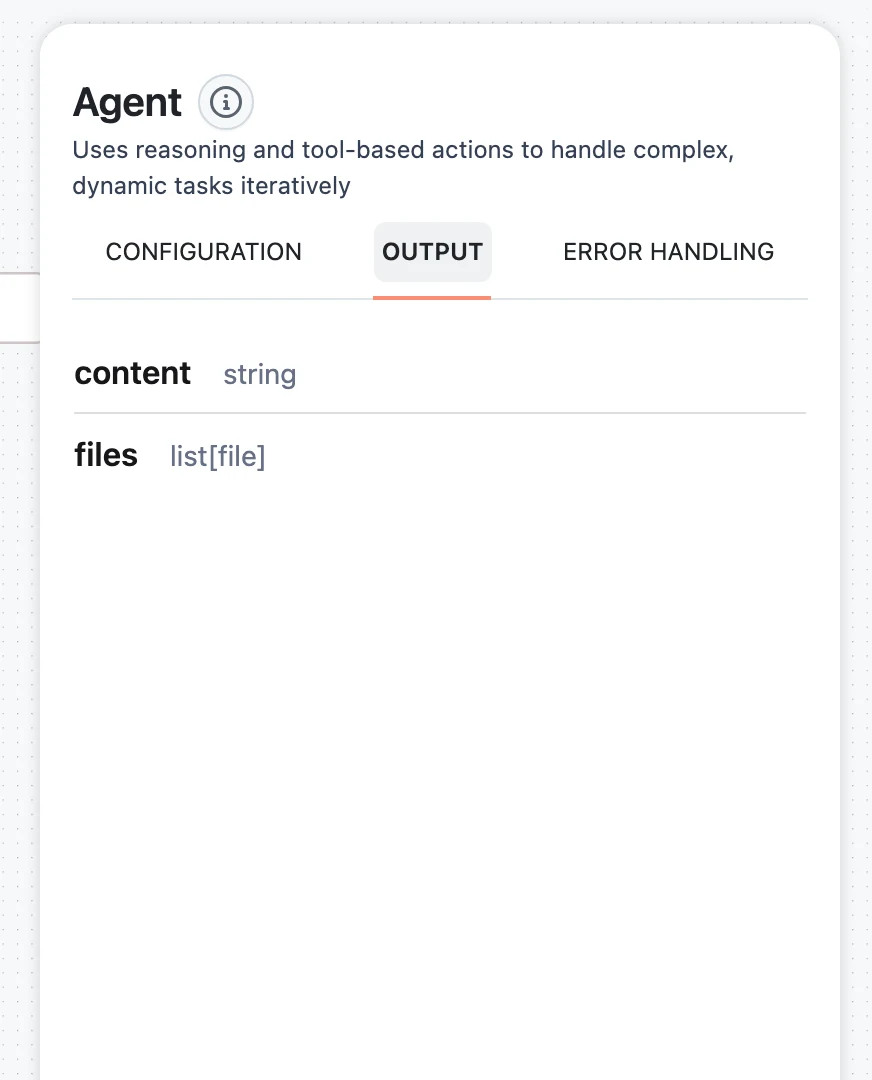
Selecting any node on the canvas opens the inspector on the right. Its header shows the node's title, a short description, and — for many node types — an info button linking to that node's reference docs. When you select an item nested inside a container (an agent's LLM or tool), a Go back link returns you to the parent node.
Every standard node has the same three tabs: CONFIGURATION, OUTPUT, and ERROR HANDLING. The Input and Output nodes are special-cased and show a fields editor instead (covered below).
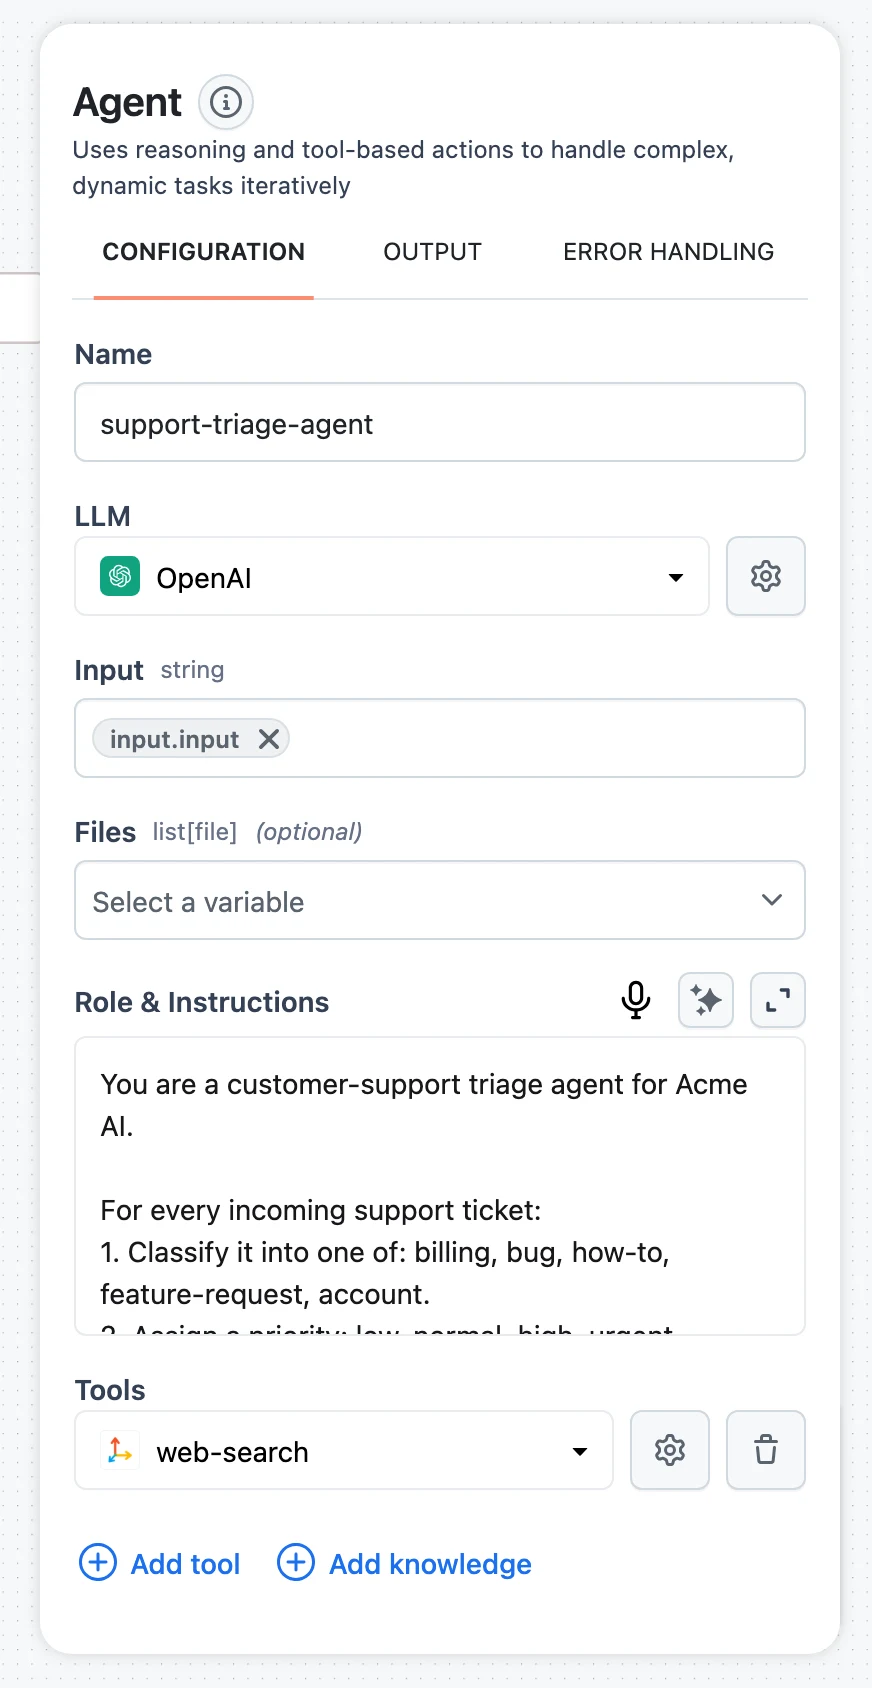
CONFIGURATION tab
This tab holds everything that defines what the node does. Contents vary by node type, but the recurring elements are:
Name
Every node has a Name field. The name doubles as the node's reference in selectors — downstream nodes address this node's outputs as $.<name>.output.<key> — so renaming a node after you've mapped its outputs elsewhere breaks those mappings. Name your nodes early.
Connection
Nodes that call an external service have a connection selector. Each node type accepts specific Connection types — an OpenAI LLM takes an OpenAI connection, SQL Executor takes PostgreSQL/MySQL/Snowflake/Amazon Redshift, MCP Server takes MCP Streamable HTTP or SSE, and so on. Create connections under Connections first, then pick them here.
Node-specific settings
Whatever the node type needs: model and generation parameters for LLMs, Role & Instructions plus tools for the Agent (with advanced settings like Max loop under Advanced configuration), the query for SQL Executor, chunking parameters for Document Splitter, and so on.
Input fields (the mapping section)
The node's typed input fields appear here, one control per field. Each control shows the field label, its expected type in monospace (for example list[Document]), and an (optional) marker when the field isn't required. Fill a field with:
- A variable — press
/to open the picker of upstream outputs ("Type text or press '/' to add variables"). Picking one inserts a token backed by a selector like$.input.output.input. Only type-compatible outputs from upstream nodes are offered. - Literal text or a number — typed directly, where the field's type allows it. Fields with strict types (such as
list[Document]) accept variables only ("Select a variable").
A field holds one or the other: with a token present, typing is disabled; with text present, the picker is blocked until you clear it. The full selector syntax is covered in Input transformers and Jinja, and the compatibility rules in How nodes connect.
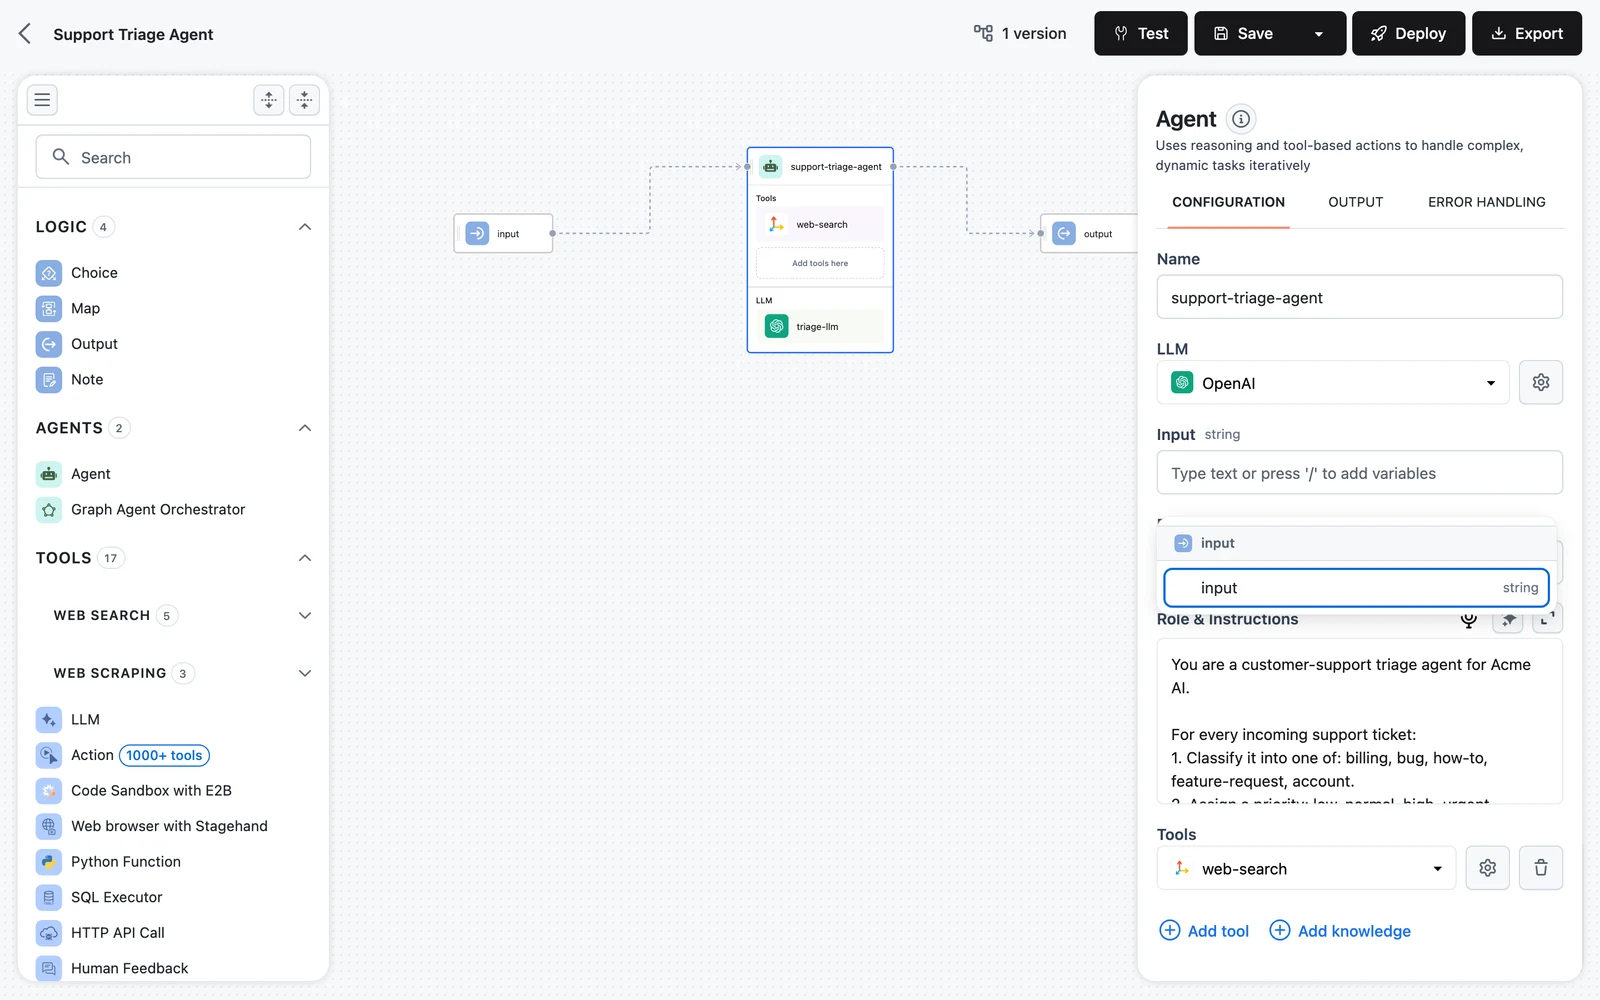
OUTPUT tab
A read-only reference: every output key the node produces, with its type.
Use it two ways:
- When mapping downstream, these keys are exactly what you reference:
$.<name>.output.<key>. - When the variable picker won't offer this node for some field, compare types here against the target field's type — the mismatch is your answer.
For example, an Agent lists content (string) and files (list[file]); a web search tool lists a content dict plus drill-down keys like content.result and content.sources_with_url.
ERROR HANDLING tab
Controls what happens when the node fails, with retries, backoff, and a timeout. All fields are optional.
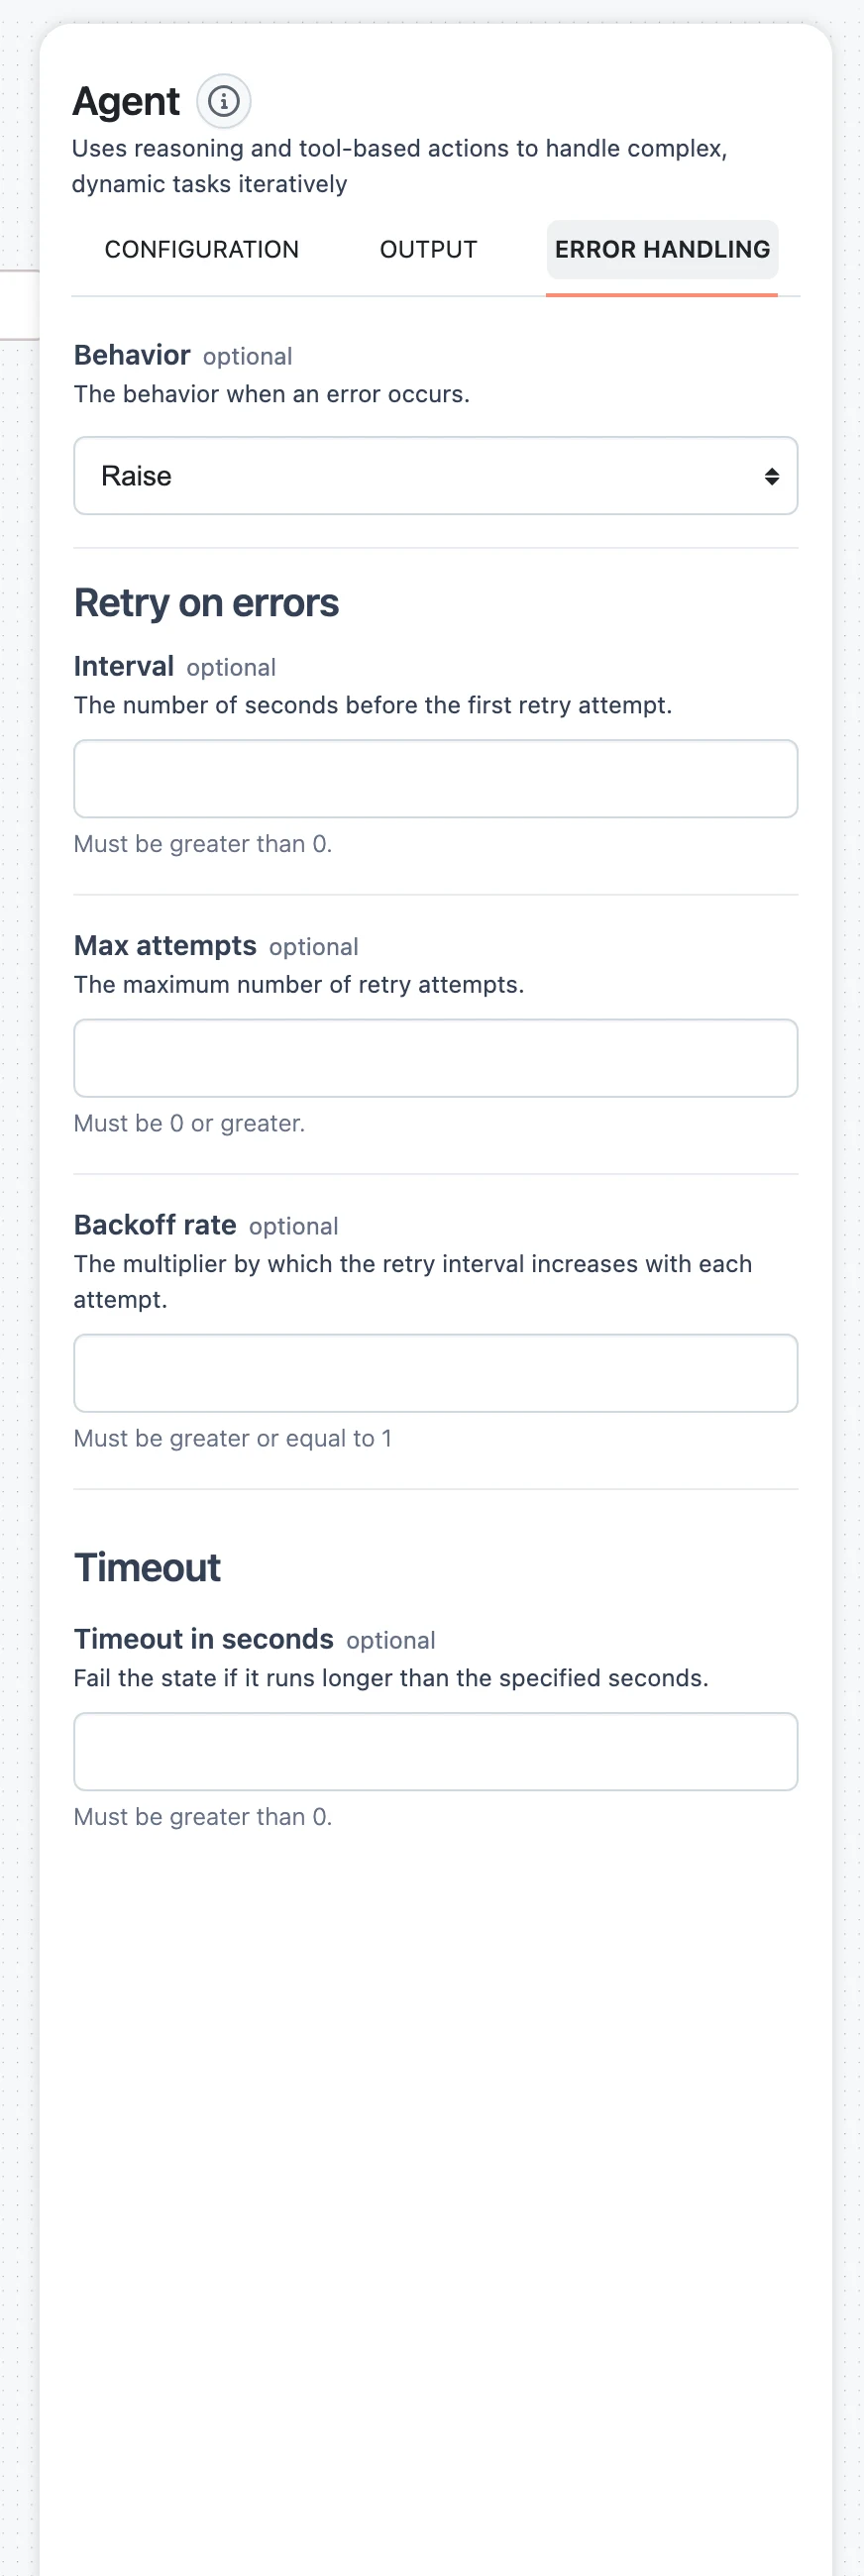
BehaviorRaise | ReturnIntervalnumberMax attemptsnumberBackoff ratenumberTimeout in secondsnumberRaise vs. Return
- Raise (default) — a failure is fatal for the path: nodes that depend on this one see the failed dependency and fail or are skipped in turn. The run surfaces the error.
- Return — the error becomes the node's result. Execution continues, and downstream nodes run with that failure result available — useful when a later node (a Choice branch, a fallback agent) should handle the error instead of aborting the run.
How retries are timed
A node attempts execution Max attempts + 1 times in total. Between attempts it waits Interval × Backoff rate^attempt seconds — so with Interval 2 and Backoff rate 3, the waits are 2s, 6s, 18s, … The timeout applies per attempt; a timed-out attempt counts as a failure and is retried like any other.
If a node also has an input-streaming timeout configured, it must be smaller than Timeout in seconds — the platform validates this so the streaming timeout can fire before the general execution timeout.
For workflow-level patterns (fallback branches, guarding agents with validators), see Error handling.
The Input and Output node panels
Selecting the Input or Output node opens a fields editor instead of the three tabs.
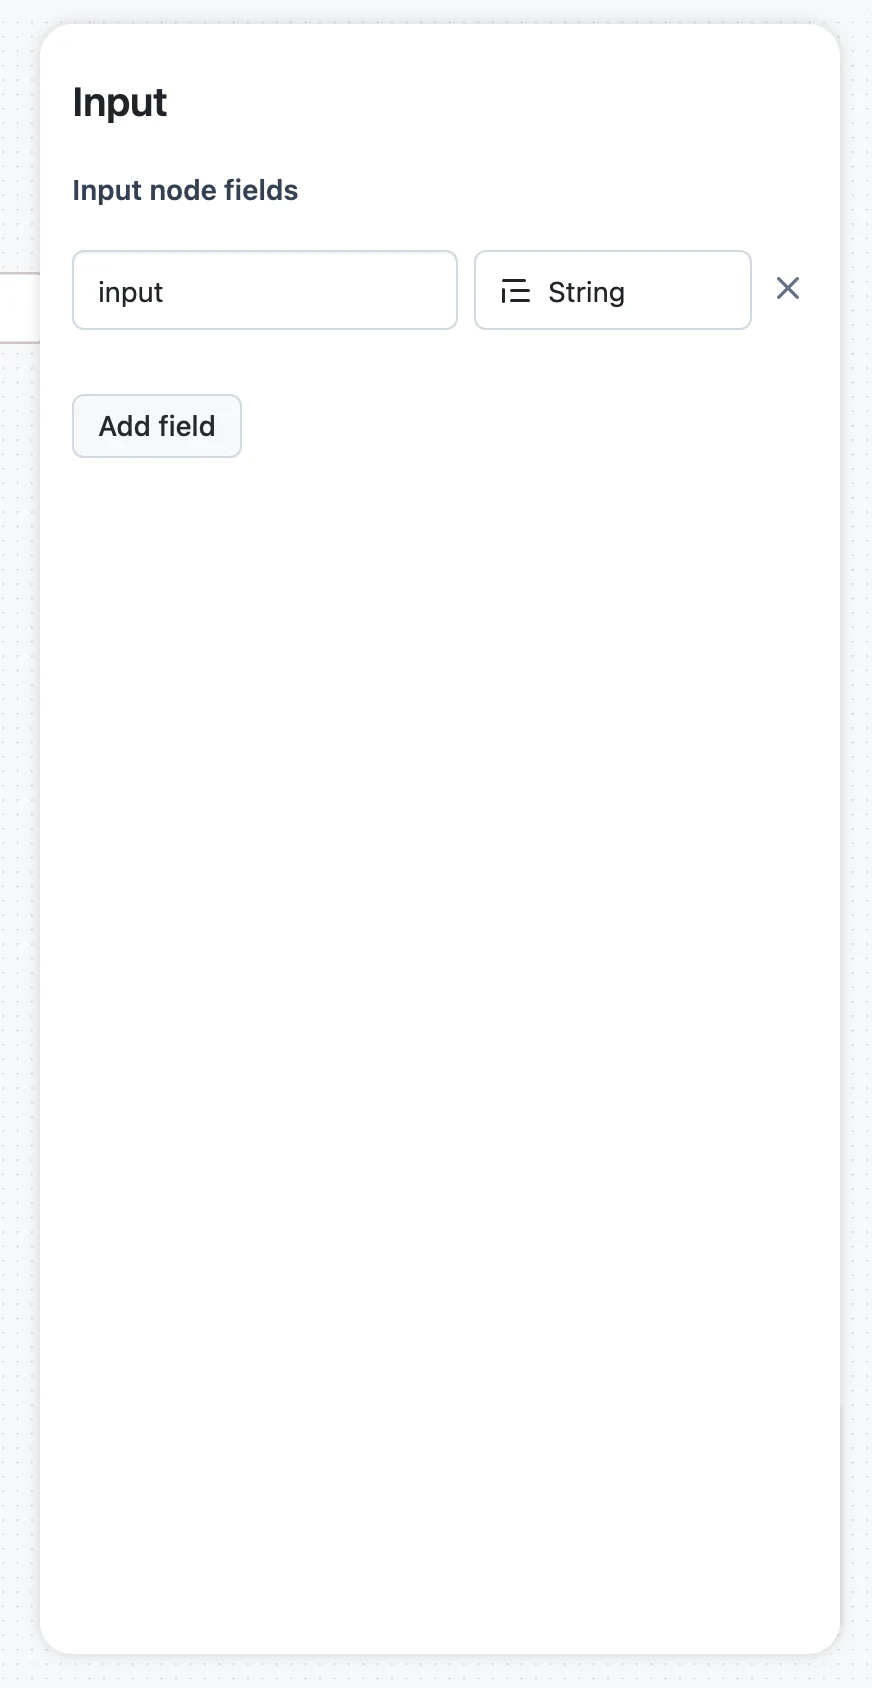
Input node fields
Each row is a field name plus a type: Any, String, Number, Boolean, List, Dictionary, Files, or File. These fields define the request schema — what callers send and what the Test panel's Request form asks for. Add field appends a row; the × removes a field.
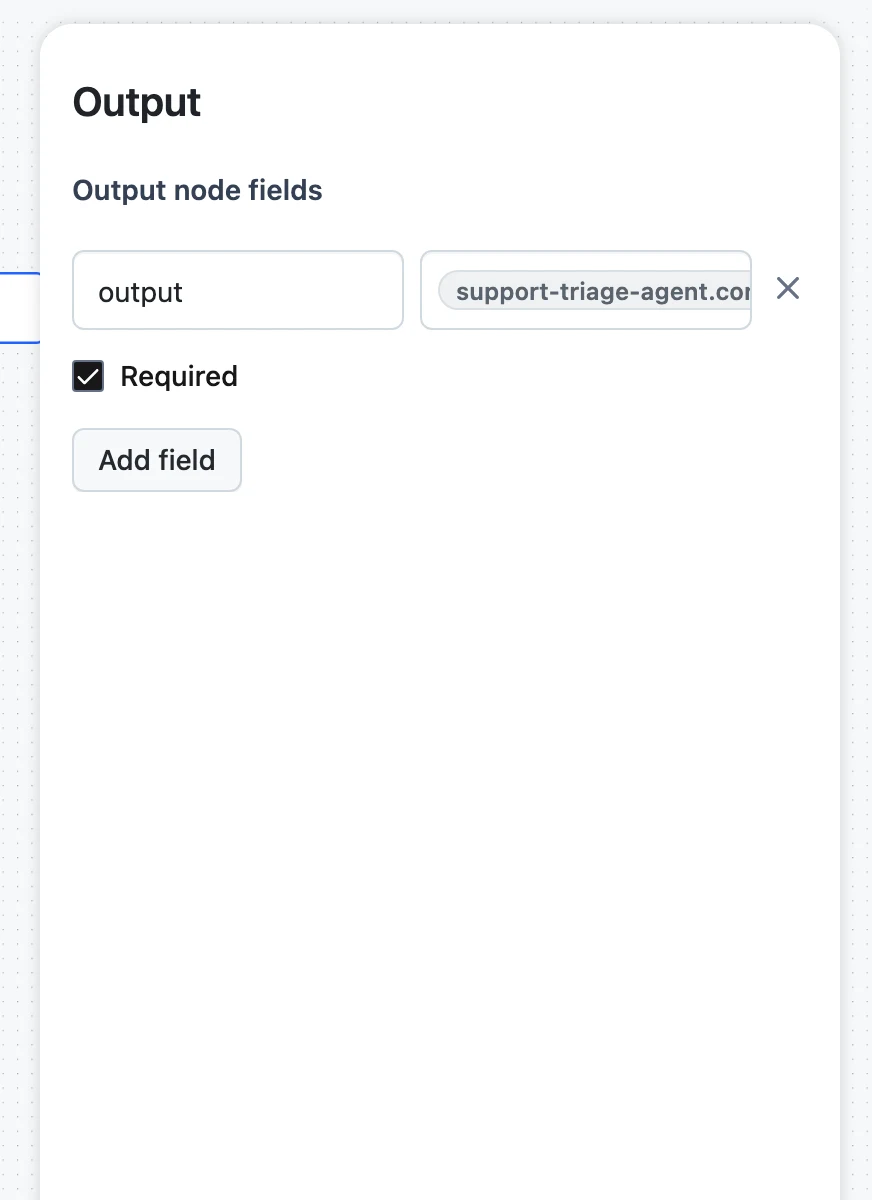
Output node fields
Each row is a field name, a value control (the same variable picker as any input mapping — choose which upstream output fills this response field), and a Required checkbox. Map every required field; an unmapped output is why a workflow "runs fine but returns nothing".
Validation and errors
The editor validates on Test and Save:
- Nodes with problems are outlined in red on the canvas, and the save panel blocks with "Your workflow has errors. You need to fix them before saving."
- Server-side validation errors from a save attempt appear in a red banner at the top of the offending node's inspector, naming the invalid fields.
Next steps
How Nodes Connect
The rules behind every edge — flow handles, typed inputs and outputs, type compatibility, agent slots vs. edges, and the wiring mistakes to avoid.
Input Transformers & Jinja
How data moves into a node — JSONPath selectors over upstream results, the literal-fallback rules, and Jinja templating inside prompts.